How To Organize and Label Your School or Classroom Makerspace
Organizing and labeling a makerspace can be an intimidating task for classroom teachers or media specialists in school libraries.
But it doesn't have to be! Whether you're starting school makerspaces in a school library or in the classroom, if you're part of the growing maker movement, you can make the most of your maker space with the right organization and labels. With a little effort, it's easy to turn your space into a creative hub that's ready for all sorts of tinkering and exploration. So grab your supplies, and let's get started!
Getting started with developing your own Makerspace can be hard even after following the blog post 5 Fundamental Ways to Launching A Sensational Makerspace. This week I’m going to help tell you how to organize and label your makerspace.
How To Organize and Label Your Makerspace
One thing to keep in mind with new things and new skills and also when putting your space together is to do what is needed for you and your students. Everybody’s situation is different. So you will certainly want to keep your young people and the maker mindset in mind and even be involved in the decision process. Choosing materials is very personal. Only you can know if your space will be just right for 3-D printers, creative projects, power tools like laser cutters, tech tools, or even simple materials like duct tape and pipe cleaners.
Also, the best way to encourage creative thinking in each grade level is to determine the objective of your space. Actually, it is the key factor. Do you want your students to do more project-based learning, hands-on learning, problem solving, or focus on a growth mindset in a new way? Do you want to incorporate science, technology, engineering, and math {STEM} skills? Do you want to extend literature responses with Makerspace Moments in Literature? Or do want to allow free time for exploration and building? Is this a good place for collaboration? Will it be a center? Will your makerspace focus on the design process, or will your space focus on students' own learning goals? Is it a closet in your house? If your answer is yes to all of these, then keep these factors in mind as you begin.
Sometimes we all need a little help getting started. After you have determined your objectives, then it is a good idea to decide where you will put things.
One of the most important aspects of creating a space is knowing how it will all be put away!
(Well, this is the most important thing for me! As I don’t want this space to be a giant mess that I have to deal with each day. LOL)
So being creative with storage containers is key. Here are a few suggestions:
Storage
Baskets, crates, and any other type of container from The Dollar Store
Old Paint cans make great containers for tools
Recycled dressers (think of dumpster diving as a means of getting your materials organized!)
Makerspace carts
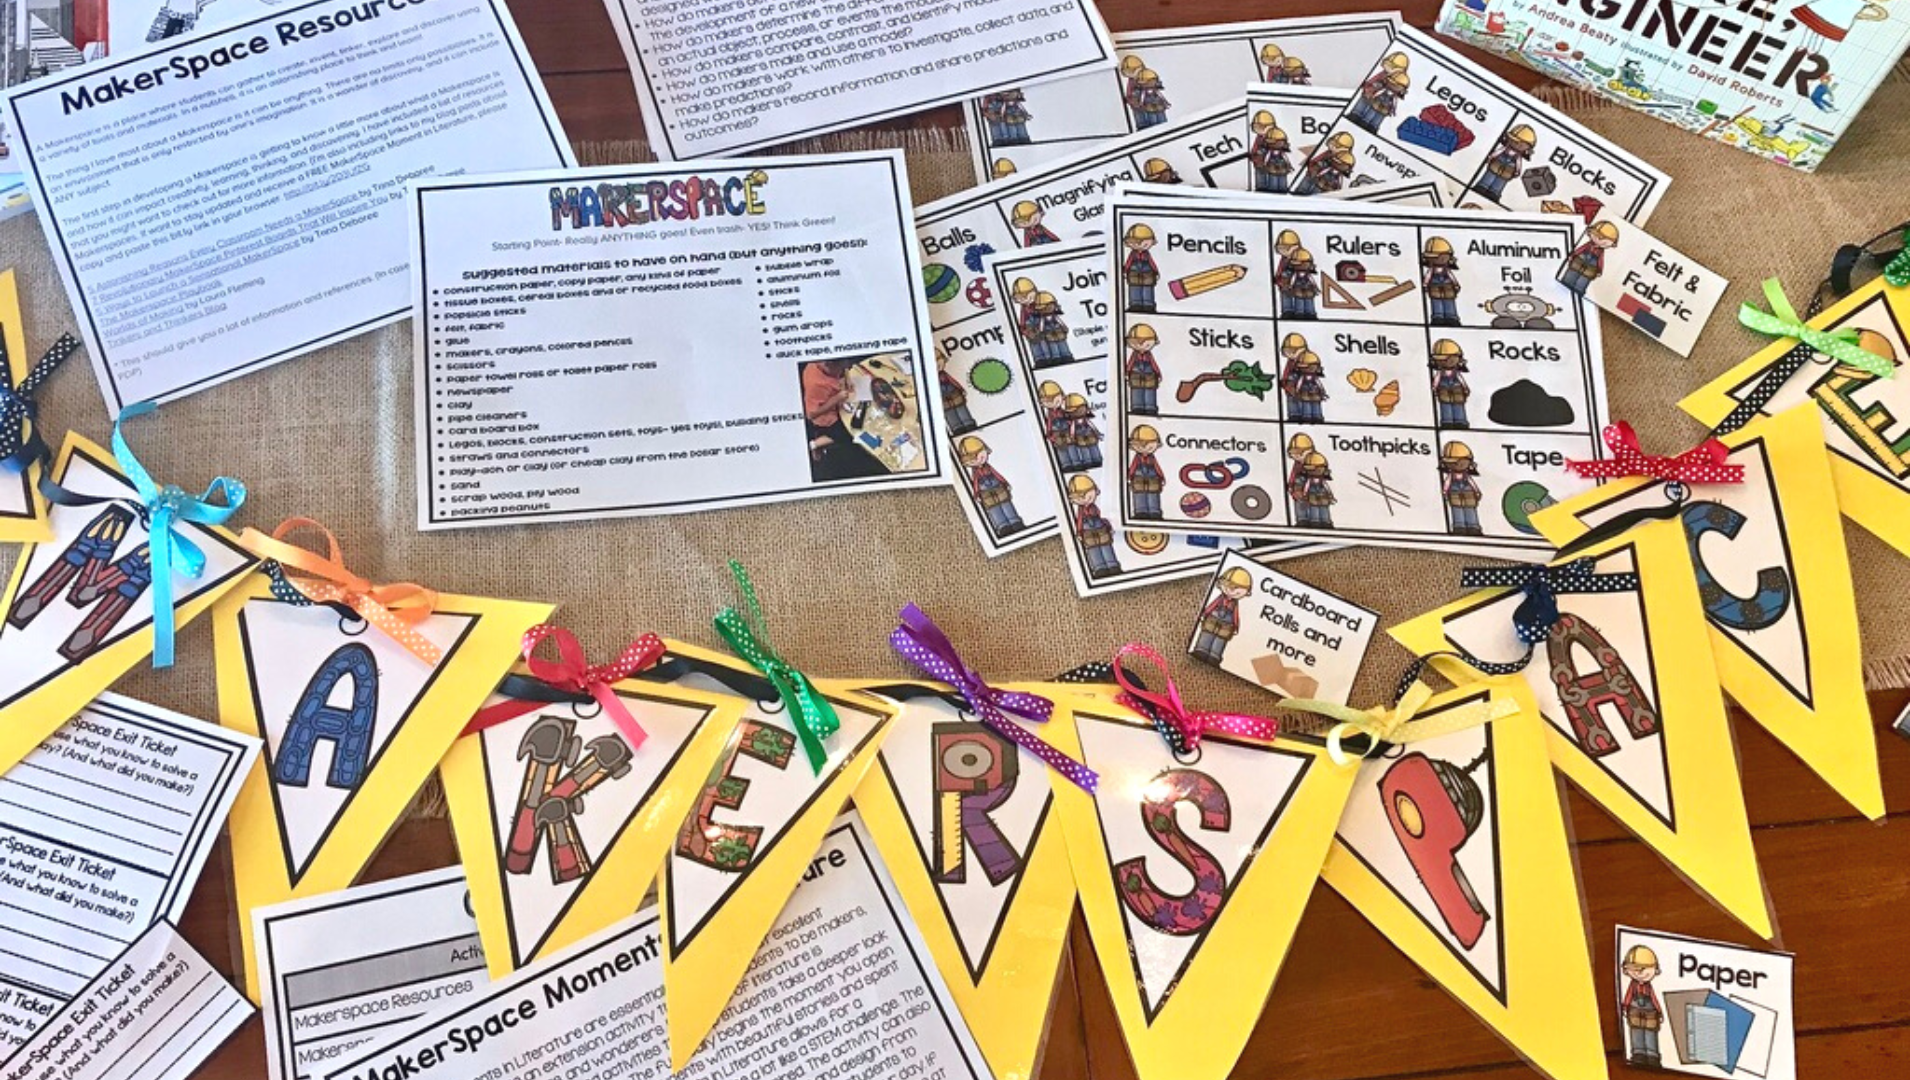
I have created a blank editable template for creating labels for all of your goodies. I hope it helps! If you need additional support or want the signage done for you, I’ve created a MakerSpace Start-Up Kit. It includes links to resources (which you can find on my blog), essential questions for K-2 and 3-5, a MakerSpace Banner, signage for your MakerSpace tools and gadgets, general exit tickets, and a letter to parents asking for supplies.
I hope your brain is churning with ideas for storage and labels. Remember, The Dollar Tree can be your best friend at times like these!


